Testing
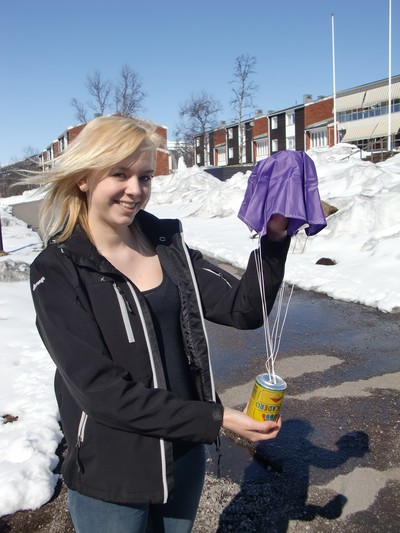
The HotIce girls testing the parachute
6 May 2010
This last week has been a very busy one for the Hot Ice team! We have spent our time programming, trying to find a lens for the camera and writing a design document that we will send in to ESA tomorrow. It’s been very difficult to decide which lens will be the optimal one since we don’t know that much about lenses and it is an ongoing struggle trying to solve this problem. We actually went to an optician this week to see if they could perhaps help us with solving this problem, but unfortunately they could not. The search for the lens continues.
Filling out the form we had to make a list of everything we have spent so far, since our budget can’t exceed 1000 euro. We have actually spent way more then anyone of us thought, though we are far from 1000 euro. We have spent 596 euro so far and for that amount we have bought the CanSat kit, the camera, the acrylic glass, special acrylic glass glue, hand warmers and lots of other small components! We have without a doubt managed to spend our money quite efficiently so far.
Another current problem is how to make the sodium acetate solution to get the best possible result from this experiment. We have done some major progress from the last time that we made this solution, but still we haven’t got it quite right. Either the solution is too sensitive to movement or not sensitive enough. We are currently working to make the perfect recipe that falls between these two categories. We also discussed what to do in case the worst scenario happens; if we are not able to make the perfect solution we will use hand warmers, since many of these actually contain sodium acetate!
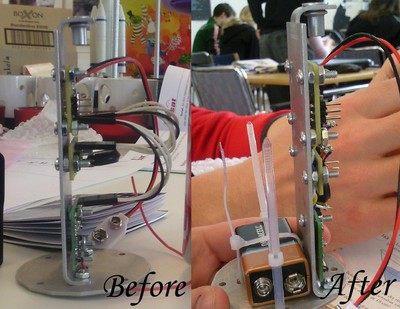
With the help of our teacher we have been able to move the frame, containing the circuit card, of the CanSat from the middle of the bottom to the side of the bottom. We have consequently managed to get as much space as possible for our acrylic glass container, battery and camera. Since we managed to move the circuit card we have also decided how to place everything inside the jar, which used to be one of our biggest problems! How everything will be placed you can see below in the picture. When we moved the card we also shorted off all the cables on the circuit card and soldered them in place.(Which you also can see below) We are also almost done with the programming of the circuit card which now can (with minor difficulties) measure the pressure and temperature in our classroom! We have also constructed a shelf for the camera to lie upon to film the container from the top, how we did this you can see in the picture below.

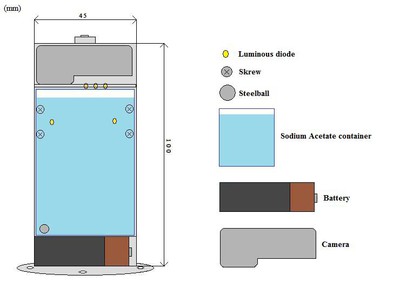
This is how we plan to place all the components in the can.
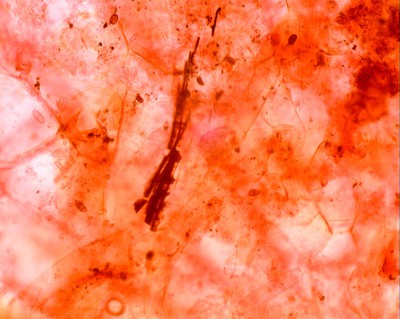
Since we will take pictures of the results of our experiment in a special microscope camera we today installed and learned a program for this on our computers. Some test picture that we took with this camera off a red leaf you can see below. When we later tried to take pictures of a sodium acetate crystal we discovered that the light from the microscope was unable to light through the crystal since the one we made a couple of days ago had turned solid white! We then decided that we would have to use some sort of loupe, which uses light from a better angle, to be able to get a good shot of the crystals. We might actually be forced to order a brand new loupe since our school did not have one that can be connected to the microscope camera.
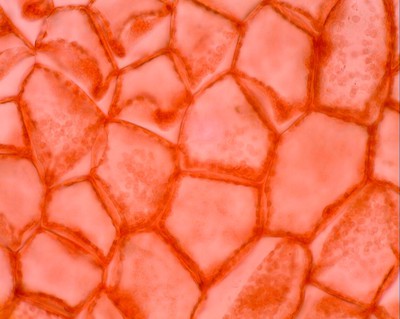
Test picture
Test picture
We’ll get back to you soon with more news about the project!
